Manage subjects, teachers, and rooms
Create subjects and resources in a consistent order and keep them up to date.
Before you begin
Section titled “Before you begin”- You have opened the correct project.
- You have prepared unique aliases and full names.
- Recommended order: subjects → teachers and rooms → timetables → lessons.
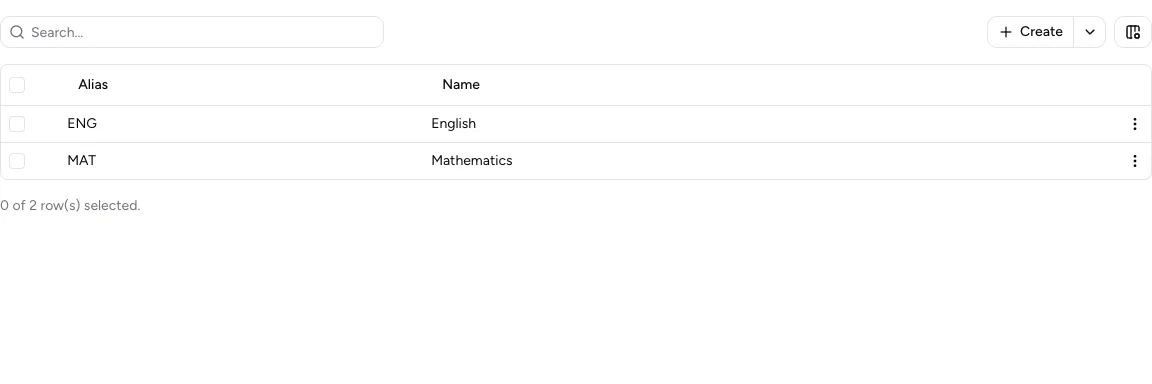
The Create and Import actions are above each master-data table.
-
Choose an area
Open Subjects, Teachers, or Rooms under Resources. Teachers and rooms are collectively called resources.
-
Choose an alias
Use a short, unique alias such as
MAT,AB, orR101. Only letters, numbers, and hyphens are allowed. Spaces, accented letters, and special characters are not allowed. -
Create an entry
Select Create, enter Alias and Name, and confirm with Create. Select Create more if you want to add the next entry immediately.
-
Add target lessons
For teachers and rooms, you can set Target Lessons (optional). The Lessons column then compares assigned and target lessons, for example
18 / 20. A difference is highlighted. -
Search and edit
Use Search… to find an alias or name. Open a subject with Actions → Edit. Open a teacher or room with the arrow and save changes with Save changes.
Before selecting Delete, check where the subject, teacher, or room is used. Deleting a resource removes its lesson assignments. You cannot delete a subject that is still used by lessons; delete or change those lessons first. There is no undo function.
Result
Section titled “Result”The tables contain unique, searchable master data. For resources, target values show the comparison between assigned and planned lessons.
If it does not work
Section titled “If it does not work”- If an alias is rejected, remove spaces, accented letters, and special characters; use only letters, numbers, and
-. - If the alias already exists, edit the existing entry or choose another alias.
- If a resource is unavailable for a lesson later, check that it was created in the same project and correct area.