Import master data from Excel
Import a small, checked table without a header row and avoid unintended changes.
Before you begin
Section titled “Before you begin”- Create a file in
.xlsxformat; other file formats are not supported. - Start with a small copy and keep the source file.
- Check that every alias in the file is unique.
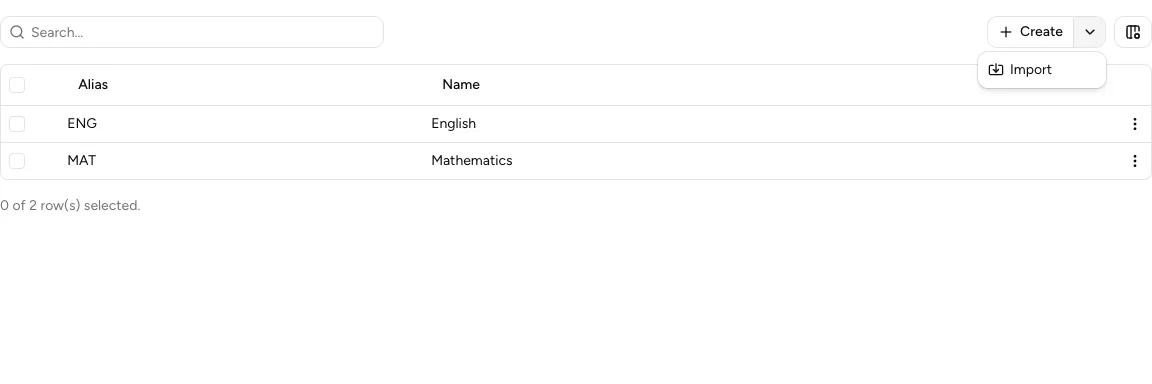
Open the menu beside Create and select Import; you can also drag a file onto the table.
Structure the file
Section titled “Structure the file”The file has no header row. Every row is imported as a data record.
| Column A: Alias | Column B: Name |
|---|---|
MAT |
Mathematics |
GER |
German |
ENG |
English |
Additional columns are ignored. The file must contain at least one data row. Aliases may contain only letters, numbers, and hyphens and must be unique within the file.
Import starts immediately after you select or drop the file. There is no preview or additional confirmation dialog. Import a small copy first.
-
Open the destination
Depending on the content, open Subjects, Teachers, Rooms, or Overview under Timetables. The open page determines what type of entries are created.
-
Start the import
Open the menu beside Create and select Import. Choose exactly one
.xlsxfile. For teachers or rooms, you can instead drag the file onto the table. -
Wait for processing
Wait for Import completed. While the import runs, messages appear as the data is read, processed, and updated.
-
Check the result
Search for several imported aliases and compare their names with your table.
Result
Section titled “Result”Every valid row appears as an entry in the open destination. Existing aliases now have the name from column B.
If it does not work
Section titled “If it does not work”- For Invalid file, check that the file is actually saved in
.xlsxformat. - For Import failed, remove the header row, empty rows, and duplicate aliases.
- Check that columns A and B contain text in every row and that aliases use only letters, numbers, or
-. - Try importing only the first data row to isolate the invalid row.